How to Use
Depending on the chosen setting and purpose of the visualisation process certain skills are required. In case of a workshop a professional visualiser is needed who teaches the basics of how to draw. In case of a session or project, an experienced visualiser is required who is able to sketch quickly and at the same time is able to integrate with the discussion as well. Furthermore a facilitator is required who is able to lead the discussion and summarise key points. This makes it easier for the visualiser to translate verbal input into a sketch and synthesise group ideas. In both cases it is favourable if the visualiser has an industrial design background and is able to think process-wise, analyse issues and conceptualise ideas.
Settings
In general, there are three different types of settings where visual thinking can be applied. Though, it is important to mention that each project is different in its own way and visual thinking is scaleable.
- Sessions: A session never takes longer than one day. A group of people discusses a certain issue, whilst the draftsman draws a visual translation of the proceeding conversation. Almost no time is taken to evaluate the drawing and it is not adjusted; rather a new one is drafted. The purpose of visualisation during the session is to inspire, entertain or create better understanding of the issue (or concept, view, vision) at stake.
- Project: A project takes longer and certain steps need to be taken to come to the end result. Instructions or explanations are provided by the project team, and the drawing is reviewed and modified until it satisfies the requirements.
- Education/workshop: In a workshop people are educated on how to make simple drawings themselves and how to use visualisation in their own project management. One learns the basic principles of thinking by means of pictures. This supports improvement of the process of thought and to share ideas.
As long as the requirements are in place, visual thinking can be applied in various settings like conferences, congresses, assemblies, meetings, symposia or workshops. It can also be used in rudimentary locations without any modern facilities. Also for illiterate people this tool can be very convenient to gain an overview of the situation and to discuss the issue.

Requirements
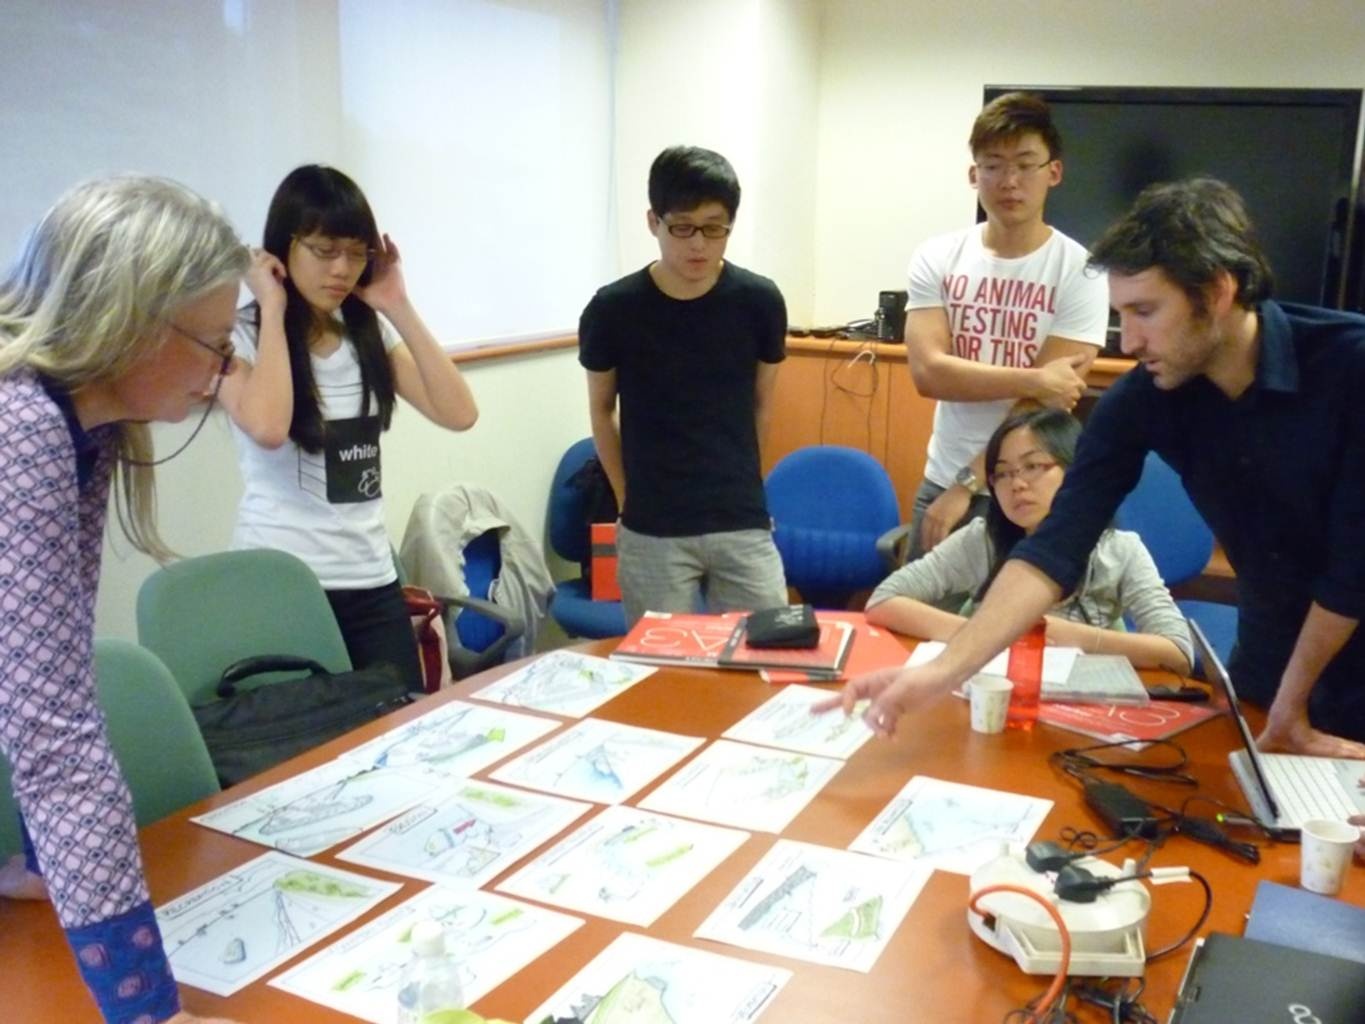
Preferrably two visualisers should attend the meeting in order to gain the best result, as they can reflect on each other. The meeting becomes therefore more dynamic and vital, as the visualisers together are more agile and their capabilities are enhanced through collaboration. In the case that two visualisers cannot be present, one will suffice. In addition, a group facilitator is essential to ensure that the visualisers can follow the key points of the on-going technical discussion.
Drawing material is needed, including differently coloured pens and large paper or other drawing material, such as a blackboard or Maptable. The advantage of paper sheets is that they are easy to lay next to each other and people can easily follow the drawing process. Depending on the skills of the visualiser, hand-drawn images may have a more realistic appearance compared to virtual drawings, which can enhance the connection between the stakeholders and the visuals. Electronic devices can have a more abstract appearance through the use of icons, inserted images or cartoons. This may create non-desirable distance or other potential disturbances, such as technical failures.
Within a project, two teams are required: a core team is needed to make decisions about the end product; and a stakeholder team is necessary to recognise the issues at stake and agree with the end product. It is essential that all the important stakeholders attend the discussion in order to gain a thorough coverage of the context, processes and needs. A workshop or educational setting requires motivated people who are willing to learn how to visualise their thoughts.
Phased plan process – Visual thinking in Projects
Visual thinking can be regarded as a process that follows the shape of an hourglass. The start of visual thinking is quite broad as everyone involved brings in ideas and time is taken for discussion about the issue at stake (top of the hourglass). Then all important elements of the issue concerned are derived from the conversation and drawn in a sketch (the middle of the hourglass). This drawing is discussed and adjusted where necessary. In the result people see their own contributions of ideas and this creates a support base. Then the drawing can be used as a reference in further discussions and functions as a means of dissemination and communication to the wider public (bottom of the hourglass).
Step 1: Problem identification
Kick off, starting at the problem statement and working towards visual solutions. In this step one decides on a medium to be used (e.g. maptable, paper and pencil, wall drawing).
- Analysis of the problem statement
In this stage a lot of sketches are made, discussions are held with the different stakeholders and re-sketching is done. Here drawing is a very iterative process and the drawer is part of the dialogue. It is important to involve the different stakeholders from the beginning as this creates wider support for the project and they are plausibly part of the solution. When sketching the different parts of the issue together in one overview, the context, processes and the stakeholders with their needs become more transparent and clear. - Overview of solutions
The different elements form (parts of) an overarching metaphor. By choice of composition and scale, one illustrates the importance and value. Elements can be drawn up in detail or stay on a vague abstract level in the sketch. This visualisation also makes it literally possible to really see solutions. - Solutions in a conceptual frame
The solutions clearly develop and the roles of different stakeholders become more straightforward. The jointly established concept contains a new story about the issue which is more bright and comprehensible. Though not only solutions are issued, also the current situation can be clearly visualised.
Step 2: Design for application
- Style and content for target group
The concept is clearly stated for the visualisation and the idea is elaborated on, which now needs to be computed in the intended style and with the medium of choice. Depending on the purpose of the visualisation, a choice is made whether textual explanation is added to the drawing. - Feedback and adjustments
The drawing needs to be very precise both on micro and macro level. Here, strong cooperation between client and draftsman is required whereby the target group serves as the basic principle. Feedback and adjustments are made several times, until the drawing really highlights the issue. - Final design
The drawing is processed up to an appropriate means of communication. This can be a combination of print, presentation or animation. The result can be used by the client and other stakeholders.
Step 3: Implementation
- Involvement of target group
The target group will be involved and their comments on the result are discussed. - Processing feedback
The necessary adjustments for different target groups are processed, whereby some important elements get more attention in the result. - Adjustments for implementation
When the visual design is familiar at all different levels of stakeholders, it can be used as a reference. Communication becomes more efficient by the visual metaphor. The core team and stakeholders are trained to properly use the result and explain it in an appropriate and understandable way.
Phased plan process – Visual thinking in workshops
Step 1: Kick off, dare to draw
Explanation on the fact that everyone can draw. Participants are urged to let go their insecurity and get the pencil on paper.
Step 2: Basics
Learn how to draw basic elements (adjusted to their professional environment), people (individuals, groups and specific professions), environments, relations and compositions.
Step 3: Practice and application
Participants learn by doing. For more advanced drawing participants, it is taught how to draw action, reading order, shadows, cross-cuts, systems and perspective. In between each new topic there is a practice by drawing it.
Advice and recommendations
Some practical recommendations can be given, learned during the Visual Thinking sessions, held within the BwN program.
- It turns out to be efficient to have one visualiser for every discussion group, with each discussion group being ideally between 5-8 participants (including the facilitator).
- Consider training local design students to assist in the visualisation process (minimum 2 days intensive training needed with high quality design students).
Group facilitation is key to ensure the visualiser is properly linked to the technical discussion and needs to be part of the interaction. - Provide the visualisation team with word lists and the course preparation material to aid in their preparation and familiarise themselves with the terminology.
- Take the time to more thoroughly explain some of the more complicated aspects of the discussion to the visualiser (technical, scientific and socio-economic components).
- Have the visualisation team produce visualisations during lectures as well during discussion sessions.
- A thinkable disadvantage of visual thinking is that it deprives fantasy. This is comparable to a book which is filmed. The fantasy of the reader is not prompted anymore, as the story is already shown by the ideas of the director. The same thing happens by the ideas of the draftsman who visualises the issues at stake. This doesn’t have to be a problem, but one needs to be aware of this occurrence.